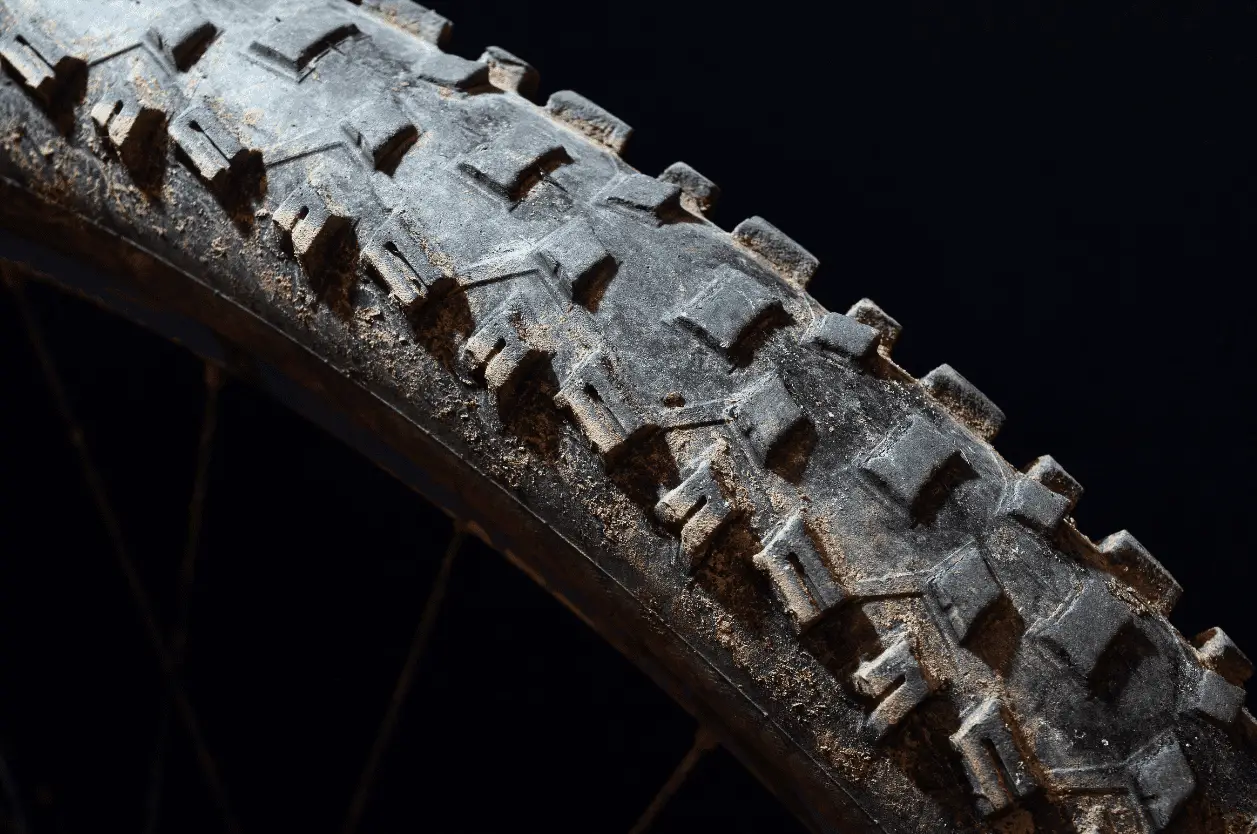
Tubeless tires often go flat on their own if they have not sealed up properly. Some of the most common causes for this include: the bead of the tire is not fully seated on the rim, the tape has not affixed properly to the rim, the valve is over-tightened, or there is simply not enough sealant inside the tire.
While it may seem difficult to troubleshoot and narrow down the cause of your leak, with a few tips and tricks you will be aired up and riding smoothly again. Let’s investigate each of these potential causes for the leak and discuss how to resolve them all properly.
Troubleshooting Common Tubeless Issues
Choosing to set up your bike with tubeless tires allows you to run lower tire pressures and significantly reduces the risk of encountering flats. Without inner tubes, you can enjoy low pressures, improved comfort and traction, and eliminate the concern of pesky pinch flats.

However, tubeless tires are notorious for being difficult to set up and seal properly on the first try. Although they often require multiple attempts and messy sealant spills, they are well worth the minor frustrations that come with the set-up.
Hopefully, the following tips will help you easily troubleshoot your tubeless issues and get back to riding worry-free.
1. Tire is Not Properly Seated
A common cause for tubeless tires to lose air is that the tire is not fully seated onto the rim. This is common when installing new, folding tires because the fold can crease the bead and prevent it from seating properly.
If installing new, folding tires, remove them from the packaging, unfold them and hang them overnight prior to installation. Allowing the tires to hang, particularly in a warm environment, will allow the creases and folds to naturally lessen, and the tire will return to a more normal shape.
During the installation, fully inflate the tire to the maximum permissible pressure and allow the tire to sit at that pressure overnight before reducing to your preferred riding pressure. Failure to fill the tire to maximum pressure will not supply enough internal pressure to completely set the bead onto the rim and can cause recurrent deflation.
2. Tape is Not Properly Affixed
Tape along the inside of the rim prevents any air from leaking out of the spoke holes. Many tubeless ready rims will come with this tape pre-installed and effectively affixed. However, this can be a source of air leakage, especially when not pre-installed at the factory on a clean rim.
The best way to prevent any leakage through this tape is to perform the installation when everything is warm and clean. Bring your rims and tape inside to allow them to warm up and thoroughly clean the surface of the rim that the tape will adhere to. These two small steps prior to installation will ensure the optimal adhesion of the tape and provide the necessary leak-free seal.
3. Over-Tightened Valve
A key component of tubeless tire set-up is the installation of a new valve stem, which uses a rubber seal on the inside of the rim and a jam nut to hold the valve stem in place. The sight of this rubber seal inclines DIY mechanics to think that the tighter the jam nut, the better the seal. After all, compressing the rubber into the hole will only create a firmer seal, right? Wrong.
Over-tightening the jam nut can cause damage to the rim tape and compress the rubber seal too much. Both can result in air leaks that are pesky and harder to correct. Prevention is the best solution for this, so firmly tighten the valve stem but do not try to crush the rubber seal into the hole.
If you do over-tighten the valve stem and are leaking air through the seal, try to shake the sealant around this area to seal up any small gaps. You may need to add additional sealant around the valve to clog any holes. While this is a bit of a “band-aid” to resolve the leak, it should seal up any small gaps and remain sealed in the long run. After all, this is how tubeless sealant resolves punctures on the trail.
4. Insufficient Sealant
Another frequent cause for deflations is a simple fix: there is not enough sealant in the tire. Inherently, tubeless tires have small gaps and leaks that are sealed up during the initial set-up. Afterwards, the remaining sealant in the tire sloshes around until there is a small puncture, which is then promptly resealed by the excess sealant.
If you do not put enough sealant in during the initial set-up, the small gaps will not be fully sealed and there will not be any excess sealant. This means any small punctures or new gaps that naturally form during riding will fail to seal.
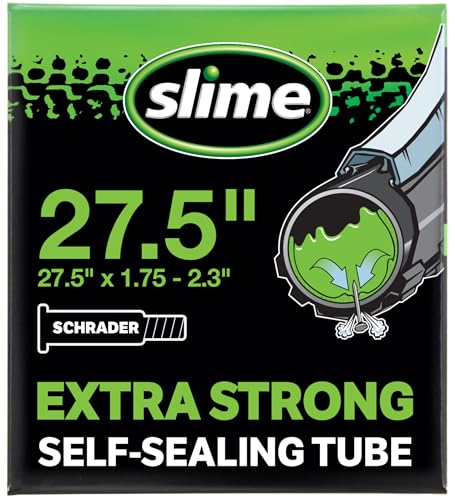
- These are no ordinary bicycle tubes! These extra strong inner tubes stop flats...
- Slime Tube Sealant seeks out and instantly seals punctures in your tubes up to...
- Designed specifically to stop tube punctures from ruining your ride and keep you...
- Schrader Valve tube, that installs like any traditional inner tube and full...
- Environmentally friendly. Non-toxic, non-corrosive and non-hazardous,...
Over time, the sealant will fill small gaps and cracks and naturally dry, and the excess from the initial set-up will be depleted. Because of this, it is very important to replenish the sealant every six months. You can do this by simply adding more sealant through the valve stem if you have removable valve cores.
Be sure that you add the appropriate amount of sealant according to your tire size. This information is often found on the sealant bottle or is readily available online.
General Tips
Once you have added the appropriate amount of sealant, quickly inflate the tire to its maximum pressure to fully seat the bead on the rim. With the tire fully inflated, shake the sealant around the inside of the tire and rim to seal around the entire circumference of the rim.
The spreading of the sealant should be a slow, thorough process. You want the entire interior space of the rim and tire to be coated in sealant, so slowly rotate the wheel, and thoroughly shake the sealant around.
Personally, insufficient sealant has been my most common cause of tubeless tires going flat. Oftentimes, this happened overnight with my bike sitting in the garage. By adding more sealant and performing the thorough shaking process described above, I was able to quickly remedy my air leaks and get back to riding.
It may take a few rides and adjustments to fully seal your tubeless tires and eliminate any deflation issues. Be patient with the initial set-up and follow the tips above to ensure you have created the optimal seal to ensure long-term performance. The small headaches that come with this set-up are well worth the benefits of tubeless tires.

Mitchell Turk is outdoors enthusiast with a lifelong passion for bicycling. He previously worked at his local bike shop before entering the world of engineering, and he may even enjoy geeking out over bike tech more than riding his bike!
Originally a roadie, Mitch dabbled in mountain biking for a couple years and then jumped on the gravel bike bandwagon. He now spends his free time seeking out gravel rides and weekend-long excursions. His ideal outing combines biking, hiking, and climbing for a whole-mountain adventure.